Level 2 Charging Tesla off-grid with solar | EG4 6000xp & Indoor Wallmount batteries offgrid
📦 Products Featured in This Video
📝 Description
Discount Coupon code ($50 off $500): SAVE50TGBATG Tesla Referral Link https://ts.la/injun699376 EG4 6000XP: https://signaturesolar.com/eg4-6000xp-off-grid-inverter-split-phase/?ref=bkpkbxde EG4 Indoor Wallmount Battery: https://signaturesolar.com/eg4-wallmount-indoor-battery-48v-280ah-14-3kwh-indoor-heated-ul1973-ul9540a-10-year-warranty?ref=bkpkbxde #evcharging #tesla #teslacharger #offgrid
batterysolarinverteroff-gridoff gridvictroneg4tesla48vbms
🎬 Related Videos
📝 Video Transcript
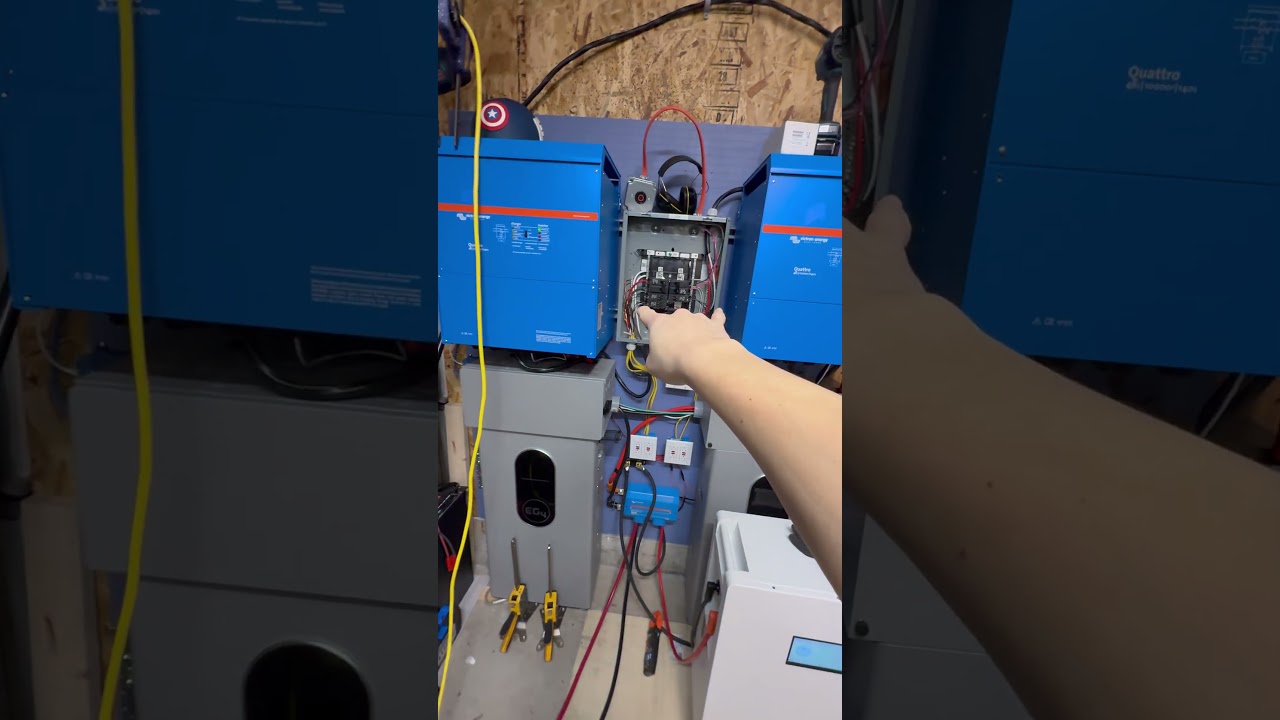
hey what's guys I'm back to the channel this episode we're going to talk to you about charging your EV off grid but more specifically we're going to be talking about charging your Tesla off grid using the Tesla wall connector so what we're going to talk about in this video we will probably apply to pretty much most EVS at least in the US um if your EV has a KNX connector you could use this to also charge that right but specifically in this uh example we're going to be using the wall connector Generation 3 Model A uh eg4 6 ,000 XP offgrid inverter to charge your uh EV or Tesla pretty much at around 22 or 23 amps at 240 volts so if you're interested in that stick with us first of all let's talk about the Tesla wall connector this is the third generation uh wall connector and this video is not a a video that's meant to be a review of this or any of this stuff uh or even how to install it it's just going to be how we got uh the Tesla to charge using this using the offgrade connector so there is another video we could probably link to it about getting it installed if that's what you care about uh we'll throw a link somewhere but uh we're going to be talking about pretty much how it actually works right so uh the third generation wall connector is a 240 volt wall connector from Tesla that you can use you have to purchase it separately uh but it can deliver 240 volts at roughly about 48 amps right so that's somewhere around 11. 5 to 12 KW per an hour so uh if you want to maximize the charging capability at home I believe this is currently the fastest option that you can get to charge your Tesla uh even though in this video we're not going to maximize this but we will pretty much have it installed to upgrade to maximum uh charging configuration later and we'll talk more about that right so you do have to buy this one separately it's going to be somewhere around like 450 is in case you wanted to know how much that costs and uh we're going to be using this eg4 6000 XP inverter which we've had for I don't know probably over a year now uh it's been working pretty much flawlessly right so 6,000 XP is an offgrid inverter it can put out an output continuous of about 6,000 Watts it's got all the solar input and stuff like that but like I said we're not here to talk about all those details uh what the uh 6000 XP is yre 2 is this load Center panel uh this one's pretty small but the way we have it laid out is the 6000 XP brings power into this load panel using uh this breaker here and then everything else is really uh just uh load right from here so we off ran out of space with the Tesla connector so we actually ended up putting the Tesla connector on this side using this 60 amp breaker and then it runs out of the breaker box using 62 wire uh to the wall connector the 62 wire what that really means is is two six gauge uh hot current carrying uh wires plus a ground so in this Tesla uh wall connector charger system you don't need the neutral it's really hot hot and ground uh so just make sure you keep that in mind if you are going to run wire it's 62 wire you don't need 63 but it does have 62 in the ground the Tesla wall charger has a ground fault current interruptor GFCI built into it so in case you wanted to know that's what's going on right uh so you probably can't see all the batteries and everything but we have somewhere uh I can't know the exact number but somewhere around like 75 to 90 Kow of batteries connected to it so in theory we should be able to at least with one full charger of all the batteries be able to charge the Tesla at least one full time from zero to about 100 if that ever needed to happen so here we have it mounted the base plate and as I mentioned earlier you have to drill this out or enlarge the hole so here we have a 1in conduit that's coming down uh between the two garage doors and then uh mounted or put with this a threaded end make sure you get the nut cuz you have to buy that one separately when you do purchase this and then you also have to buy this bushing separately I would definitely get the bushing because it will help with uh preventing shaving with the wire and stuff like that it also provides you know just a little bit more stability so uh you have to put the nut on here pull the wire through here's a 62 wire that we use it's all copper make sure you only use copper wire when installing this okay uh the base plate is mounted to this piece of MDF board I think it's like a 1-in MDF board which just mounted on the two boards here uh there's a little additional piece of wood we put back here so that the screws would put uh tighten down really well we didn't use the screws that came with it mainly because they would be too long for this situation so what we did was put a screw here one on top and one on the bottom here uh just for extra good measure we just covered it up with you know few layers of electrical tape you don't have to do that you just you know black it out and also just cover up that screw cuz it could possibly eventually be inductive anyways the point is the 62 uh copper wire coming down through here we have it zip tied off this point here you strip the wire and then you put it into here so the ground goes in here one of the hot lines go in here a secondary hotline goes in here here is a strip gauge uh when you strip it that's how much you need to strip and make sure you get a Torque driver to to tighten them down properly as it says right here you can't really read it cuz the wies in the way you need to tighten them down to 50 in p lounds and it is very critical you get a Torque driver to do that mainly because the only thing you get in the installation kit is this bit all right and this bit needs to insert into a uh quarter inch hex Drive item right uh so most people will probably have a screwdriver that fits like that but you need to tighten them down to about 50 inch pounds so here's one that I'm using I tighten mine down to about 52 inbs as you can see right there uh to tighten those down uh and you know some people say for good measure back it off once and tighten back down you can do all that stuff if you want but I just tighten it down to about 52 in lbs just 2 lbs over some people are going to say something but you know whatever uh there's a few other items I did here I do want to make sure you kind of take note so that if you do it you can also you know do it if you want uh I put a little piece of of the cardboard packing foam it's a pretty dense foam right on this corner here this corner is exactly the same as this corner here and when you're wrestling with some of the stick wiring coming in through here you're kind of moving it around trying to bend it and get it to fit and all this stuff and over time it was just kind of scuffing up the uh insulation here because this sharp corner uh probably won't be a problem any because this is plastic it's probably not going to move too much but who knows with Thermo expansion all of this stuff but just for a good measure I stuffed a piece of a tight dense foam in that corner to prevent that corner from uh you know scarring or muffing or whatever up that wire so there we go we have it mounted like this uh they these are tightened down properly uh going to go ahead and install the connector charger on top of it and then there are four screws you have to put in here here two on top and two on the bottom to get that going so go ahead and get that installed and keep it going Tesla wall charger connected to an off-grid system which is a single 6000 XP charging level two charging the Tesla so let's go ahead and start getting this Tesla to start charging ing let's see if we could ramp up the charge limit to about 80 on this example right now it is not charging I'm going to stand next to the inverter so you can hear the inverter ramp up here we go let's hit the start charging button and the uh the charger will start activating and you can see uh the current eventually the green LED flowing into the car so as you can see that's pretty much what's happening the charger is starting to ramp up slowly or I mean the offgrade eg4 6000 XP starting to ramp up slowly here we go I'm not sure if you're going to be able to pick that up on camera I am standing probably about 3 ft from the inverter so uh the fans definitely started spinning up let's go ahead and ramp it up a little bit since right now we're charging at about 5 amps let's go to 10 see what happens all right so you can see right there on the screen it'll say 10 out of 48 amps capable right so that's delivering roughly about uh 2 kilow cuz if you think about you know 240 * 10 you know that's about uh 2 Kow there so let's go ahead and take it to 15 and see what happens there you go uh you can't see the inverter cuz I'm filming from the camera phone right now but it says the inverter is loaded up to 61% let's go ahead and ramp it up all the way to 202 actually there you go look at that we're charging at about 5 kilow using an off grid system let's go take a look at the inverter and see what it sound or see what the app says go in here let's hit this refresh button here let me step away a little bit from the inverter so we're not overpowered by the fan noise so now I'm standing roughly about 4T away it's took like a step back uh from the inverter and you can see right here the battery is discharging about 5600 W but what's going into the AC output uh is 5300 Watts so if you take that really uh into account that's probably going to be somewhere around about 95 is% efficiency I'm just doing rough math off the top of my head I think that's about right for this inverter right now mainly because it's nighttime middle of the night and there's no solar coming in right so uh with these types of inverters when they're solar active it actually becomes more efficient but right now there is none of that right so uh about 5,300 WTS going uh to the uh AC output of the inverter so I it looks like it could probably take a little bit more let's just see what happens cuz right now it says it's at 89% so let's take this to 23 amps and now we're at about 93% uh let's see if we can let me cut some of the all the other breakers off of here uh because I don't want anything random to just come online right now real quick so we'll cut those Breakers offline um and then let's take it to 24 amps that brings us to 94% of the inverter's capacity So in theory we should be able to do about uh 25 amps not taking into account uh the efficiency rating right mainly because if you take 6,000 uh uh out 6,000 watts output right uh of the inverter it's obviously going to have a uh a the DC to AC conversion efficiency ratio uh this one is about 90 something per so right now we're about 24 amps coming out all right so if we go back in here let's hit this refresh button see what happens it says we are now pushing out about 57 55 Watts right so um sure we could probably take it up just one more hair one more Ambush but that made a trip in I don't want to have to deal with uh resetting it all back up since I know for a fact uh its continuous output is about 6,000 uh 24 seems to be pretty much the max if you want to run some or if you want to run this longterm right so being able to charge with the eg4 6000 XP off grid level two charging a Tesla will get you you could do about 24 amps this is assuming you have all the other right equipment with the batteries and Breakers wiring and all that stuff connected but if you have it set up properly you could charge 24 amps which is about 5 kilow going in just a little bit over 5 Kow going in right so uh if you look at uh 80% we have right now from 50 to 80% will take about 4 and 1/2 hours uh maybe a little bit less at this rate uh so you know that's not bad considering we're completely off grid with the uh charger right now so let's see how it's really coming across here right now everything is normal it's happy we're taking out about 94% load right of this inverter uh this inverter just to give you a little bit of background information is connected to this wall mount battery here uh let's see if you can get the screen to come up uh this wall mount battery is in parallel with another wall mount battery so this one here is putting out about 30 amps as you can see close to about 29 I did charge it all the way up just just for this test to see how much of the battery we can dump into the car right so this one which is in parallel withd is also putting out about 33 amps uh these two wall mount batteries are configured in parallel uh to each other and they are also parallel to this victron uh lyns Power in which also parallels the batteries to this stack of Life Power Batteries we have going in on here right so uh we have the eg4 lv2 I believe here uh this one has a screen so it's pretty easy to see how much it's coming out of here it says about 9. 1 right uh this one right here is an eg4 lv2 which is set up with BMS Communications as you can see with the uh wall mount batteries let's just see how much is coming out of here if you take a look at this Clint meter we're pulling out roughly around 8. 5 amps right so that one is not too bad uh we also have here the uh life power 4 V1 batteries which are not set up with Communications but if you check how much is coming out of here this one's putting out about 6.
5 so there's a little bit of uh not perfect normalization but the other ones life power 4S you're still getting about 6.