Fix MrCool 12K DIY Mini Split Not Cooling | Add R410A Refrigerant (Step-by-Step Repair Guide)
📝 Description
Is your MrCool DIY 12K mini split not cooling properly or frosting up? In this video, I’ll walk you through exactly how to diagnose and fix the problem by safely adding R410A refrigerant. You’ll learn how to: Identify refrigerant type on your MrCool outdoor unit Use R410A refrigerant with UV dye & sealant for leak detection Connect and charge your mini split system safely Avoid common mistakes (like connecting to high pressure side) Confirm the repair with thermal imaging and frost removal ⚠️ Safety First: Always wear gloves and safety glasses when handling refrigerant. Work in cooling mode only and follow all manufacturer guidelines. Timecode 0:00 Intro – MrCool 12K DIY Mini Split 0:18 Check refrigerant type (R410A) 0:52 Why use R410A with UV dye & sealant 1:50 Safety gear (gloves & glasses) 2:09 Connector setup & gauge explanation 3:00 Cooling mode & low-pressure side 3:40 Frost on refrigerant line = low charge 4:09 Adding R410A refrigerant (step by step) 5:18 Frost gone – system cooling properly 5:55 Thermal imaging test results 6:45 Before vs after cooling difference 7:06 Final thoughts & where to buy refrigerant
diy
🎬 Related Videos
📝 Video Transcript
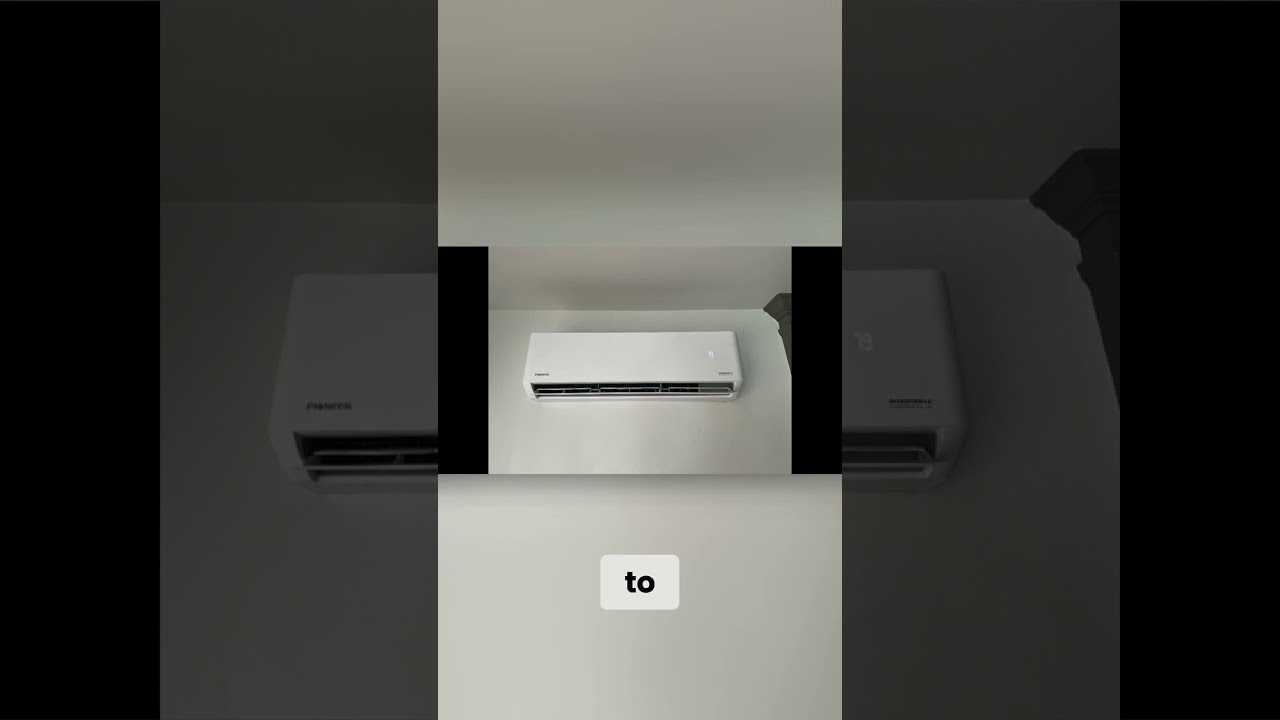
What's guys? Welcome back to the channel. This right here is a Mr. Cool 12K DIY mini split unit.
And on this episode, we are going to show you how to fix this. All right. So, if I haven't mentioned it, the important thing to do is make sure you look on the side of your outdoor unit and look on there to figure out which type of refrigerant you're using. In my case, and in a lot of the Mr.
cool DIY mini split cases. They're all using R410. So, a R410 refrigerant, I would say, is pretty common to find. Uh, you can get this, but I do want to uh you to emphasize a little bit of caution uh when you do this, mainly because you want to make sure you get uh the right refrigerant, but I do also encourage you to get the one or the bottle that has the UV dye and the sealant, especially if this is your first time doing it.
The reason behind that is you can get this bottle in just R410 uh refrigerant or you can get it with I think only the UV dye and I know you can get it in only the sealant. This bottle contains all three of them. And if it's your first time doing it, I really encourage you to get all three of them mainly because it could just be like a microscopic leak um and then the sealant would kind of, you know, pretty much fix that. You definitely don't want to dump a huge bottle of sealant in there because it could eventually gum up the compressor.
So, you want to get one that is mixed. The other benefit to having the refrigerant, the sealant, and the dye mixed together is that if it does leak, you can eventually f get a uh UV uh little pen light or whatever and try to figure out where it's leaking from. Yes, you're not going to be able to in inspect everything if especially if inside a wall or whatnot, but you can easily see around the connectors or all the piping that you do have access to. Uh you can inspect that.
So, I would highly recommend getting the one with all three of them in there. And this is the bottle that we're going to use today. And before you do any of this, I would encourage you to wear gloves. Just you don't want to get like chemical burns or anything like that.
And wear probably some uh safety glasses to resist, you know, like I said, safety first, right? Uh the other thing that goes on with this is you need a connector. So, this is going to be the connector that we use. Uh, if you look on here, if I can get it to focus a little bit while on here.
Um, what we're going to try to do is we're going to try to get this arrow to the blue. Okay. If it's blue, which is the R410A, right? So, if you look at this closely enough, R410A is this outside.
If you can see that on here, I don't know if you can see it, but I can see it. Our 410A is this outside ring. We want to get this arrow to be in the blue uh this blue area which means it's running efficiently or uh running at spec or or operational parameters. Right?
So uh this side is going to screw on to this bottle here and then this side is going to screw on to the uh port uh that we're about to open up and go take a look at outside. Um, the other key piece of advice I do want to make sure you take into account is whenever you're doing this, 100% make sure you are in cooling mode and as low as you can get the uh, mini split to go. The really important piece of that information is because doesn't matter if it's hot outside or cold outside, but it's important because you want the uh, line or the port that you plug this into to be the low pressure side. So, not everybody knows this, but a mini split wheel can operate pretty much in forward and reverse pretty much putting out heat or cooling.
You want to operate it in cooling mode so that you are not connecting this to high pressure. All right. And we're outside here. And as you can see here, we already have it connected.
Uh if you go outside and you see the frost as you can see right here on uh this bigger line here, uh that's also a talltail sign of not enough friant. So, I've opened it up and then connected it as you can see right here. Not super well, but if you look closely enough, can't I just can't get it in the right angle with the trees. Um, the arrow is down here.
It really should be up to here where the blue area is. So, what we're going to do is we're going to turn the bottle upside down. And I've already, like I said, connected it pretty tight and securely. And then try to start filling it up.
This may take, depending on how bad your system is or how much you've lost, it may take a bottle or two. So, in that case, you may just need to go another bottle. But let's go ahead and see how this works, right? You go ahead here.
And the idea is to do it in small bursts. So, let's go ahead here. Put this upside down. A small burst.
And you can see how this settles down. It's definitely gone up. As you back this off, there will be some loss from uh this line cuz this is not a super low loss connection. But as you can see here already immediately now this this uh thing I wish I could get this out the way is not frozen anymore.
Right. So the ice has gone away and now the mini splint is cooling properly. So let's go ahead and quickly get this thing off because you know as you take it off you'll lose some refrigerant but tall tail sign right there. Problem has been fixed immediately.
All right, and now we're back inside. And as you can see already, the frost is already gone. No frost anywhere on the system so far. So, it's literally been probably 2 minutes from me putting all the stuff up, then coming back inside.
Let me go grab a thermal imaging camera to see if we can actually see what the difference coming out of here is. I don't know if you can see it. The air coming out of here is about 56, right? 50.
But the air going in up here is closer to about 77 78. Sorry, I'm trying to do this with one hand. Air up here 77. Air coming out 46 45.
Yeah, that's a pretty big delta. There you go. You can I probably should have showed you that this was a real problem earlier. It was still cooling about 10ish degrees, but nowhere nearly that effective.
Only the reason it cools at that point is because there's ice and this is blowing air over the ice. So, uh, it still works a little bit, but if you really wanted to get working effectively or efficiently, then you should do exactly that. So, I really hope this video helped you guys out. I'm not sponsored by any of these companies or anything like that.
Just wanted to share some information which would probably help some of you out, I would imagine. So, uh, there's a whole bunch of places you can buy this type of refrigerant stuff. Um, I'll drop some links in description below if that's what you really want to know where you can get it, but you could probably just Google search it and find something real quick. So, uh, hopefully it's helped you guys out and you have a good day.
Get back to work and I'll see you guys next time.