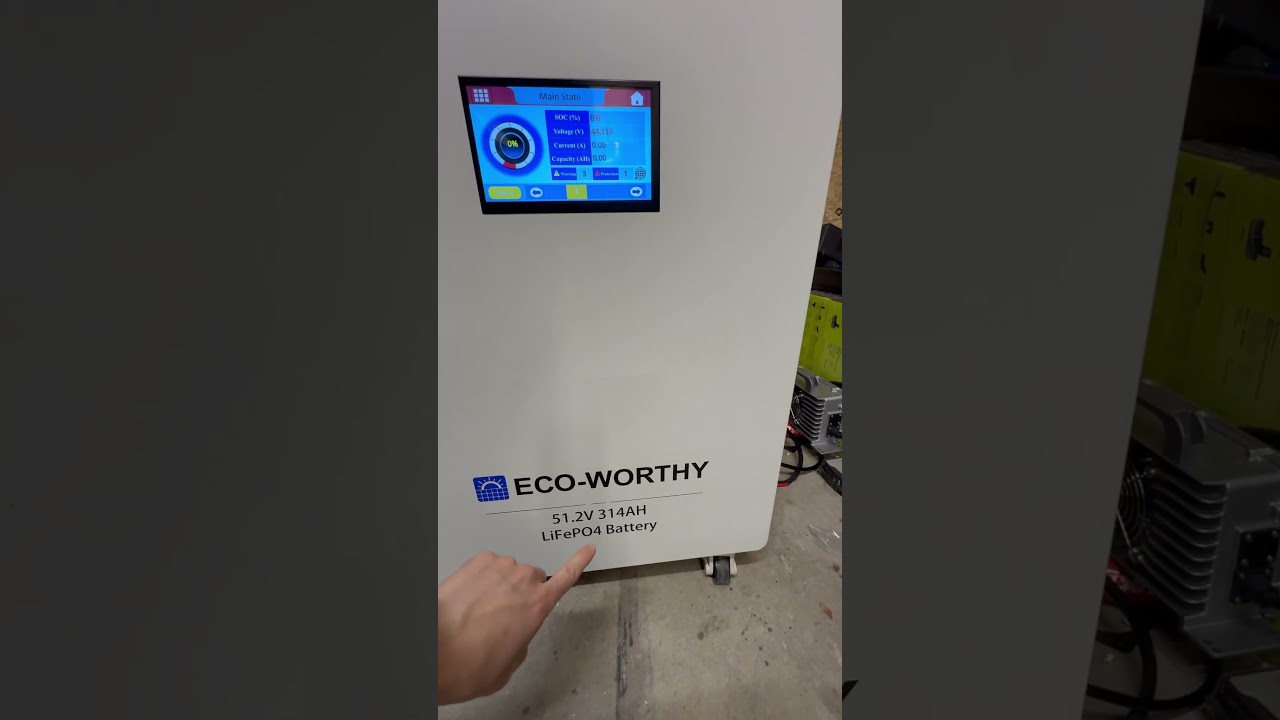
How to setup Victron and EG4 Battery Communications with Multiplus and Cerbo GX
📦 Products Featured in This Video
📝 Description
Discount Coupon code ($50 off $500): SAVE50TGBATG Victron Energy Cable: https://signaturesolar.com/victron-ve-can-to-can-bus-bms-type-a-cable-1-8m/?ref=bkpkbxde Cat6 pass through connectors: https://amzn.to/3YTutF0 Cat6 pass through crimper: https://amzn.to/3YQQggB This episode will take a look at how to set up BMS communications between your Victron energy system and EG4 batteries. This procedure will work on EG4 indoor wallmount battery, EG4 power pro battery, and EG4 long life/LL battery. We set up the battery communications using the CERBO GX but it will also work with the CERBO S and the ekrano. You have a few options here. One option is to purchase the Victron energy cable, the second option is to make your own cable from a pre-terminated standard cat five cable, last option is to custom make both ends using cat5 or cat 5 cable. WIRING SPECS Battery side pin 4: brown stripe pin 5: brown Cerbo Side pin 7: brown stripe pin 8: brown #eg4 #batterystorage #battery #victron #victronenergy #energystorage #offgrid
batterysolarvictroneg4bms
🎬 Related Videos
📝 Video Transcript
hey what's guys wel back to the channnel as I mentioned before the eg4 indoor wall mount battery is probably one of the best batteries to combine with your victron multi plusus system there's a lot of reasons for that we don't need to get into it but on this episode I'm going to walk you through how to connect the eg4 uh indoor wall mouth battery with your victron Sero GX all right there's going to be pretty much one method but three kind of ways to do it or three you know ways to get it done uh the same method will also work uh with the in uh Power prob H4 Power Pro battery and also the eg4 LL batteries it will not work with the life power 4 battery it kind of has a different uh BMS for it there may be a way to get it to work if you get like the communication sub or something like that but I don't have that so I can't really walk you through that but it will work with like I said these three batteries and it will also work with the serbo GX it will also work with the serbo S which doesn't technically have a uh vbms uh Port but inside you can remap one of the ports to be a vbms port so it will work with the Sero GX the Sero s and the Aro or the one with the built-in screen or something like that because that's pretty much the same thing as this except you know just combining them so without too much further Ado let's get to it all right so obviously the first method is going to be buying the victron uh cable that's going to be a specific modified cable you can buy it from a few different places you know signature solar is one of them I think current connect this another one you can pretty much buy them all different places but it's a cable designed to be used with this all right so if you don't want to go buy that or you just can't wait to buy it right because it takes time to ship to you you can make some all right so let's get to making them first way of doing that I'm going to say is to just get a pre-made cable it doesn't matter whichever ethernet cable you get if it's already a pre-made cable nowadays it's most likely not going to be a crossover cable or anything like that and you're not going to have to worry about whether it's the a standard or the B standard because the wires that we're going to use doesn't matter for a standard or B standard right so the first thing like I said get a cable this is a brand new cable came off you know something that we got to have no idea where we got this cable from but the important thing is you just take a look at it and make sure that the last two pins which are seven and eight are actually brown striped and brown and both of these are right so the first thing we're going to do is we're just going to cut off the end of that right and then we're going to get a cable stripper tool and we're going to strip this cable right just turn R there strip it turn it a little bit take it out pull that out strip it this is a cat 5e cable I would recommend using like a cat 6 but you know if this is all you have on hand you're going to be fine so we're going to cut off all the other wires that are not brown stripe or brown so let's cut this off here bam done cut and then first thing you're going to do is you're going to want to straighten them out cuz they're twisted pair that's usually what uh TP stands for in that uh UTP your STP you know standard twisted pair uh so right now it's set up to brown stripe and brown so the side that goes on the serbo is going to be the side that has been fully connected or pre-made so we're just going to go ahead and take a marker and put this blue cuz this is for the serbo c e r b o terrible spelling but you're trying to on a wire okay so that goes on there but the side that goes on the battery you need to put uh number pin number four as brown stri and then pin number five as brown so take a cable connector here I'm going to be using the cat 6 pass through connectors mainly because I find that those are the easiest to work with even though this is a cat 5e cable it will still work um it's just going to be a little bit different so make sure you line up the brown stripe wire to be in pin number four so let's see if we can get it in Focus here we're talking about doing almost like micro surgery here so right there is in one and two right there is in two and three right there is in three and four and then right there move it over one is in four and five right so we're going to pass it in through here and I'm just going to look at it up close so you look at it up close look at there we got pin number one maybe this way is easier pin number one two here we go one two three the first three holes are empty you got four and five four four is brown stripe and then five is brown so we're going to put it in through here put it into your table crimper right put it in through here this one will cut it off right done this is done so this side will go to the eg4 battery we're going to go right here and put bat b a t t Okay so that is one way to do it which is the easiest way as you saw that just took maybe 2 or 3 minutes all right so the other way to do it which is the harder or the most difficult way out of the three ways which is you're just going to have to make both sides all right so in this instance we're just going to take this uh actually I'm going to put a boot on here just in case I want to use this one later so put a boot on here first uh the first one I didn't put a boot on cuz the pre-made cable that it came with didn't have a boot to begin with so put a boot on here and this is the cat 6 cable so strip the cat 6 cable like so take this out right and then cat 6 has this spline in the middle which actually helps separate the Twisted pairs but in this case I'm just going to go ahead and untwist all of them right so the easiest thing to do here would be to just cut all the wires off actually I think I probably will do that mainly because um if you cut all the it would just be easy to terminate originally when I was filming this video I was just going to make one in standard and then one in special mainly because you know if I wanted to ever use the water I can just cut that one off and only have to terminate one in but the chance of me doing that realistically is not high right so if I ever need a custom cable or custom size cable made then I'll probably just make the whole thing all over again so it doesn't matter so go in here cut off all the other extra connectors and try to cut it off as close as possible to the end so you don't have to deal with it if you have smaller more Precision Cutters it will probably be better this is really more of a diagonal huge Cutters more using like linesman style size right so cut all of those out okay unlike me where I'm failing you know don't do that but cut it out untwist the pairs and then first let's make the side that goes to the serbo uh if you're having struggles one thing you can do is take the thing that you stripped off and just use it to untwist the wires like this that's a trick that a lot of people do um I just not going to do that right now just take a straight edge and bend the wire straight and I know that seven and eight will be in the order of brown stripe Brown so I'm going to rearrange this to be brown stripe first by twisting brown stripe here right and then you have it lined up like so it's easier if you cut it at an angle that's one thing I learned over the years cut it at an angle makes it much easier to terminate take your Terminator or your cable uh termination and then put it on seven and eight which are actually the last two so it's pretty straightforward and easy right so if I put it through there I'll put it through a little bit more before trying to show you how it looks like because sometimes it'll be just a hair difficult right so if you look at it here we got the last two pins seven and eight right if you look at it this way especially all the other pins are empty but we got brown stripe and brown seven and eight so here we go let's go ahead and put this in here terminate this wire it cuts off the edges and there you go you can look at it up close you can see seven and eight are brown stripe and brown if you look at it this way you know Brown is on the end brown stripe is number two this way right but usually you count the pins looking at this way so there's that this is the serbo end so we're going to take a little marker here we're going to write serbo on here all right c e r b o if you have a label maker use label maker but right now I just don't know where that label maker is even though we have like five of them somewhere so uh we're going to go ahead go here cut the other end right take off the wire take your brown and brown stripe separate those out get as close to here as possible and then just cut this right so the other thing you can do um the other reason that you probably want to keep the other ends terminated more or with all the pins is primarily because it'll give you a little bit more stiffness or more uh stress relief if do you want to call that right right so you could take this and also do this and then straighten them out I like to use a straight edge to straighten them out because it's actually much easier right gets rid of lot lot of the wire memory and then like we did earlier it's going to be brown stripe and brown but brown stripe is going to be number four so we're going to take this go around here make brown stripe come up first right and then I almost forgot to put a cable boot on it so that's happened to me many times can't even explain how many times that's happened to me so we're going to put a cable boot on here assuming can get it past here it's not going through because I have this little issue here but let's cut this end off right like I said get smaller diagonal cutters especially for precision stuff like this cable and you life will be much easier right uh so you can also use like lattici scissors but I just don't have that on me right now so uh brown stripe brown right here and like I said try to cut it at an angle cuz it becomes a little bit easier to work with brown stripe around and now the goal is to get these into pins number four and number five right so look at it from the bottom this way line it up this way right here is one and two two and three three and four four and five right so there we go insert here insert the end to there count it this way to double verify we got one two there you go one two see three empty pins look at it this way 1 two 3 four five right so if I go and look at it double verify because I don't want to have to come do this again you can also count from the end and do 8 7 6 5 right but we'll go this way terminate this end all right now we got this uh battery end connected here so let's go ahead and then label this one just in case you know we go over there and try to figure out oh my gosh which side is what go here wipe off some of the sweat that I'm sweating here and put b a t t so this will be the battery end so what we're going to do let's go over and plug in these cables and see how it works out so let's test the cables that we just made starting with this yellow cable this side we labeled I believe that says serbo and then this one obviously says battery so we'll go ahead and take this out plug it into the battery port and then we'll go ahead and plug this side which says serbo into the Sero GX BMS can Port right so plug it in this way as you just saw right there I don't know if you saw it but the screen did just blink so let's go ahead and take a look at the screen a little bit more up close click on it uh you can go to menu it'll take you to the devices as you can see right now it says eg4 LL uh battery here or device you won't see the inverter because I don't have the inverter powered on since we're going to be messing around in here I just didn't want to power it on but you can go into here right and just go around and browse pretty much all the metrics that you are getting inside the CBO GX from this battery right so right now here's the voltage the amps going through it like I said the inverter is not on there's really nothing to go through current state of charge state of health the temperature you can even get the details of the battery right lowest cell all all the kind of stuff that you really need the hours for the battery here uh the alarm just in case you know there something going on with the battery like you had some kind of cell inbalance or high discharge or some kind of alarm that it all comes with you can also get the parameters that is coming from the battery right so right now most people know this is this battery is rated for 200 amps of constant discharge right and then 100 amps of charge so you know that's pretty much where that is uh now we know that the yellow cable Works let's go verify our blue cable the one that we made both ends works right let's go ahead and put this here going to ahead and unplug this yellow cable and you'll see there we go we'll take this blue cable here right the one that we just made and then as you enough you can see it on the screen right here but it does say the eg4 LL battery is now disconnected right it says not connected we can get the glare to come down here so let's go ahead and test this blue cable this side we labeled Sero GX so we're going to plug it into here and then this side we've labeled battery so let's take this and then plug it into here the can Port which is the far left Port if you're facing the battery right and as you can see it detected immediately there was almost no lag none of that it all works eg4 LL battery you know 98% state of charge all the information is still back here and for whatever reason you're you're not getting it to detect you can just hit this battery to or hit this button here to re uh press to redetect but you know we don't need to do that because it works off the back all right so this stuff is pretty straightforward tells you all the stuff going on in here that you need to know that you would expect to get from getting battery Communications going so you know if you go back to the pages it'll also tell you how much is like drawing out right now there's nothing but all the stuff that you need so it is really nice to get that working and I know I think we skipped it earlier so let's go ahead and cover it for for the dip switches what I have configured is the first one is down and then the rest of them are up so number one is down 2 3 4 5 six are up um if you have more different batteries connected you're probably going to have to you know change the dip switches to have different addresses so you know which uh there's no conflicting addresses but if you only have one set up just do it that way and make the first one just one down rest of them up and that's how you would really get it to work right so it's no big issue Works easily all right so that's how you would set up BMS Communications between the eg4 indoor wall mouth battery and the serbo GX or your vtron system right like I said it'll work with the LL battery and also the Power Pro Outdoor battery and also the CBO s in case that's what you want to use or and Chronos so that's what you want to get it working that's how you get it working three methods if you don't want to pay I think it what it was like 15 bucks or whatever for the cable then just go pre-make the cable right or just go make the cable I mean I'm sure somewhere around your premises there's going to be at least one ethernet cable that you're not using all right so it may be a little bit difficult if you don't have the Terminators and all that kind of stuff but as I mentioned earlier all you need is the cable you don't need to set up the Terminator you need to put in to the side because it doesn't need to be terminated you just connect connect that's it all right so hope this video helped to guys out if you have any questions let us know otherwise have a great day get back to work and I do want to throw in one extra thing if it doesn't work with your eg4 LL battery it means you need to do a firmware update so you need to get a Windows computer and update the firmware of that BMS that battery to the latest version available then it will work all right so now see you guys next time